
Kimchi [????]
Traditional Cabbage Kimchi
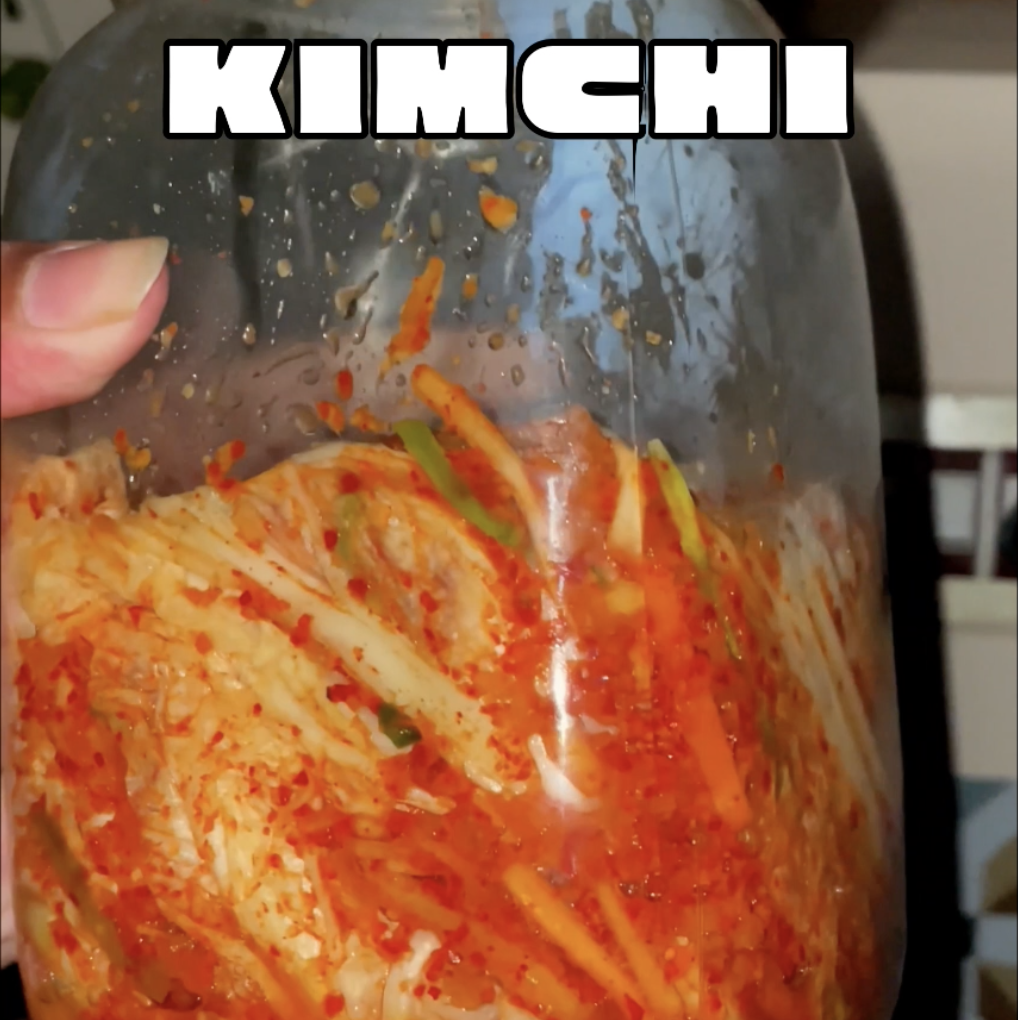
Cabbage Kimchi (배추김치)
Kimchi is a staple of Korean cuisine, known for its bold flavors and fermentation benefits. This version features napa cabbage, a mix of seasonings, and the signature spice of gochugaru (Korean chili flakes). With a balance of saltiness, sweetness, and umami, this homemade kimchi develops deeper flavors over time, making it a delicious and probiotic-rich addition to meals.
Key Ingredients
For the Cabbage:
- 1 kg napa cabbage – The base of traditional kimchi, known for its crisp yet tender texture.
- 150 grams sea salt or rock salt – Helps draw out moisture, making the cabbage more flexible and absorbent.
- Around 5 cups water – Used to rinse the cabbage before fermentation.
For the Rice Paste:
- 4 tbsp glutinous rice or flour (or substitute with starch from white rice) – Helps thicken the paste and enhances fermentation.
- ½ cup water – Necessary for cooking the rice paste to the right consistency.
- 1 tsp fine sea salt – Adds balance to the seasoning mix.
For the Kimchi Paste:
- 1 tsp minced garlic – Provides a robust, savory base.
- ½ tsp minced ginger – Adds warmth and depth to the flavor.
- 1 tsp sugar – Enhances fermentation and rounds out the heat.
- 5 tbsp (50 grams) Gochugaru (Korean chili flakes) – The essential spice for heat and color (Indian chili flakes work as a substitute).
- 30 g Korean radish or daikon, carrot, apple, and pear, julienned – Adds crunch, natural sweetness, and complexity.
- 20-25 grams chives or spring onion – Contributes a mild onion flavor.
- 3 tsp fish sauce – Provides umami richness (optional for a vegan version).


How to Make Kimchi
Step 1: Prepping the Cabbage
- Cut the napa cabbage into halves or quarters, depending on its size.
- Sprinkle the cabbage leaves with salt, making sure to rub between the layers. Let it sit for 2 hours, turning occasionally.
- The salt will draw out excess water, making the cabbage soft and flexible.
- Rinse thoroughly with clean water to remove excess salt and let it drain while preparing the paste.
Step 2: Making the Rice Paste
- In a small pan, mix rice flour (or white rice starch) with ½ cup of water and simmer over low heat.
- Stir continuously until the mixture thickens into a smooth, sticky paste.
- Remove from heat, add the 1 tsp fine sea salt, and let it cool completely.
Step 3: Preparing the Kimchi Paste
- In a bowl, mix minced garlic, ginger, sugar, and gochugaru (Korean chili flakes).
- Add the julienned radish, carrot, apple, pear, and chives.
- Pour in the fish sauce (if using) and let it sit for 10 minutes to absorb flavors.
- Once the radish mixture softens slightly, mix in the cooled rice paste.
Step 4: Coating the Cabbage
- Take each cabbage leaf and spread a generous amount of the kimchi paste evenly, ensuring all layers are well coated.
- Pack the coated cabbage tightly into a clean, airtight container or glass jar.
Step 5: Fermentation Process
- Let the container sit at room temperature for 2 days to begin the fermentation. The warmer the room, the faster it ferments.
- Transfer the kimchi to the refrigerator after 2 days to slow the process.
- While kimchi is edible immediately after chilling, it’s best to wait 3-4 days for deeper flavors to develop.
Tips and Variations
- Control Spice Levels: Adjust the amount of gochugaru for milder or spicier kimchi.
- More Depth: Add a splash of fermented shrimp paste or anchovy sauce for deeper umami.
- Vegan Alternative: Skip the fish sauce and replace it with extra salt or soy sauce.
- Sweeter Kimchi: Add a bit of honey or date syrup for balance.


Tips for Success
- Even Salt Distribution: Make sure all leaves are salted to ensure proper texture.
- Proper Rinsing: Rinse cabbage thoroughly after salting to avoid overly salty kimchi.
- Use a Fermentation Jar: A glass container with an airtight lid works best for optimal fermentation.
Customizable Variants
- Crunchy Kimchi: Add sliced cucumbers for a refreshing bite.
- Mild Kimchi: Reduce the gochugaru and replace some with paprika for a gentler spice level.
- Fermented Faster: Store at a slightly warmer temperature to speed up fermentation.
Pro Tips for Meal Prep
- Batch Making: Prepare a larger batch and divide it into smaller jars for convenience.
- Longer Storage: Kimchi lasts for months in the fridge, improving in flavor over time.
- Cooking with Kimchi: Once fermented, use it in stews, pancakes, or fried rice for an extra punch of flavor.
![Pajeon [??]](https://seycooks.com/wp-content/uploads/2025/02/Pajeon-768x1359.png)

![Bibim Guksu [????]](https://seycooks.com/wp-content/uploads/2025/01/Bibim-Guksu-e1740476843207-768x768.png)

![Gamja Jorim [????]](https://seycooks.com/wp-content/uploads/2025/01/Gamja-Jorim-e1740477468864-768x769.png)
![Teriyaki Tofu [??????]](https://seycooks.com/wp-content/uploads/2025/01/Tofu-Teriyaki-e1739289731779-768x769.png)